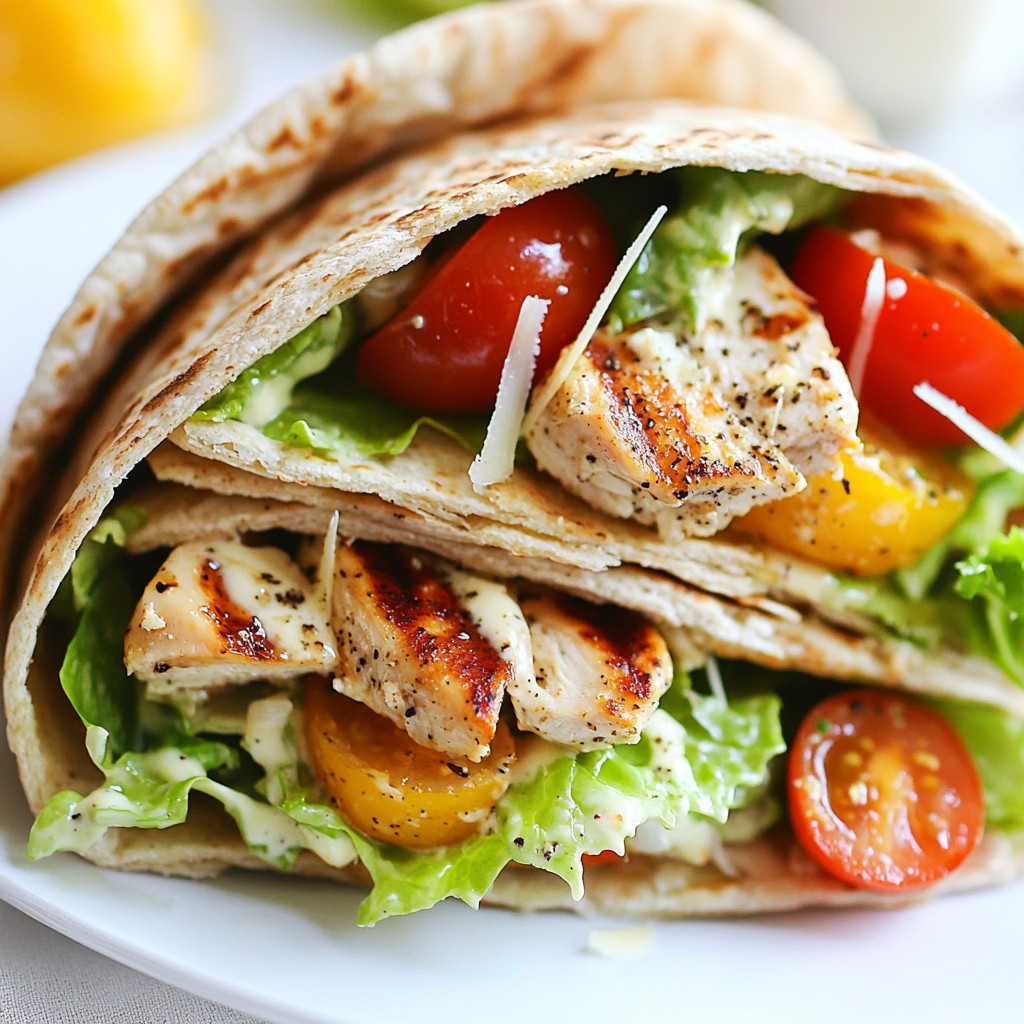
Looking for a quick and tasty meal? Try these Savory Fast Cooking Chicken Caesar Pita Wraps! Packed with grilled chicken, fresh romaine, and creamy Caesar dressing, they’re easy to make and perfect for busy days. In this blog, I’ll share the simple steps, ingredients, and tips to create this delicious dish. Let’s dive in and make mealtime a breeze!
Ingredients
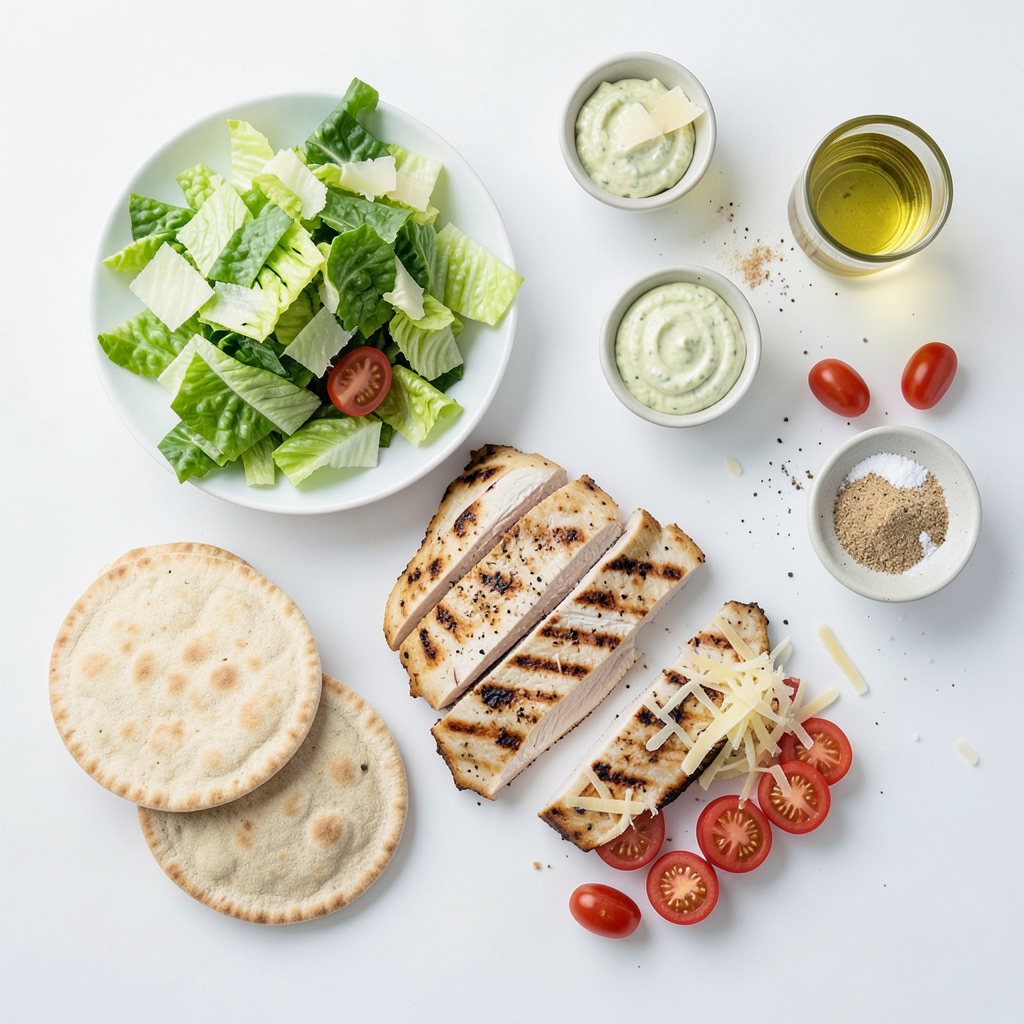
Main Ingredients
- 2 grilled chicken breasts, sliced
- 4 whole-wheat pita breads
- 1 cup Romaine lettuce, chopped
- ½ cup cherry tomatoes, halved
- ¼ cup Parmesan cheese, grated
Condiments and Seasoning
- 1/3 cup Caesar dressing (store-bought or homemade)
- 1 tablespoon olive oil
- 1 teaspoon garlic powder
- Salt and pepper to taste
- Freshly cracked black pepper for garnish
In this recipe, the main ingredients focus on fresh and healthy items. The grilled chicken adds protein. Whole-wheat pita is a great base that is easy to handle. Romaine lettuce offers crunch, while cherry tomatoes add sweetness. Finally, the Parmesan cheese brings a rich flavor.
The condiments and seasoning elevate the dish. Caesar dressing provides a creamy touch. Olive oil helps in cooking and adds a nice sheen. Garlic powder boosts flavor without being overpowering. Salt and pepper tie everything together. Freshly cracked black pepper is a perfect finish.
This mix of ingredients makes the Chicken Caesar Pita Wraps tasty and quick. You can easily customize the recipe based on what you have at home. Enjoy exploring different flavor combinations!
Step-by-Step Instructions
Preparation
- Tossing the chicken
Start with the sliced chicken in a medium bowl. Add olive oil, garlic powder, salt, and pepper. Mix well until the chicken is coated evenly. This will add great flavor to the chicken.
- Preparing the pita wraps
Take each whole-wheat pita bread and cut it in half. This creates pockets to hold the filling. Set them aside for later.
Cooking Process
- Sautéing the chicken
Heat a non-stick skillet over medium heat. Add the seasoned chicken slices to the skillet. Cook for about 3 to 5 minutes. The chicken should be heated through and slightly golden. Remove it from the skillet and let it rest for a moment.
- Mixing the salad ingredients
In a larger bowl, combine chopped Romaine lettuce, halved cherry tomatoes, and grated Parmesan cheese. Drizzle in the Caesar dressing and toss everything together. This mix will add crunch and flavor to your wraps.
Assembly
- Filling the pita pockets
Take each pita half and fill it with the salad mixture. Add slices of warm chicken on top. Make sure to pack them nicely for a tasty bite.
- Garnishing the wraps
If you like, drizzle a little extra Caesar dressing on top for more flavor. Finish with freshly cracked black pepper for a nice touch. Serve them right away for the best taste!
Tips & Tricks
Enhancing Flavor
To boost the taste of your Chicken Caesar Pita Wraps, try making your own Caesar dressing. It’s easy to mix together with just a few ingredients. Use fresh garlic, lemon juice, and some anchovies for depth. You can also add a pinch of mustard for a kick. If you choose store-bought dressing, look for one with good ingredients.
Perfect seasoning brings out the flavors in your wrap. Use salt and fresh pepper on the chicken for a nice base. Taste your dressing before adding it to the salad. Adjust with more lemon juice or salt if needed. This ensures each bite tastes great.
Cooking Tips
Keeping chicken moist is key for a tasty wrap. Start with chicken breasts that are fresh or thawed. Marinate them in olive oil, garlic powder, salt, and pepper. This not only adds flavor but also locks in moisture.
When frying the chicken, use medium heat. This helps cook the chicken evenly without burning it. Sauté for 3-5 minutes until golden brown. This quick cooking method seals in the juices and gives it a nice texture.
Serving Suggestions
Pair your wraps with simple sides for a complete meal. Fresh fruit or a light salad works well. These sides add color and balance to your meal.
These wraps are perfect for various occasions. Serve them for lunch, dinner, or even a picnic. They are easy to pack and great for sharing with friends. Enjoy these wraps at gatherings or just as a quick, tasty meal at home.
Variations
Ingredient Swaps
You can change the protein in your Chicken Caesar Pita Wraps. Turkey works well if you prefer a lighter option. For a plant-based choice, try tofu. Just make sure to press and season it before cooking.
You can also swap out the lettuce. Spinach offers a softer texture. Kale adds a nice crunch and is full of nutrients. Choose what you like best!
Dressings
If you want to mix things up, try different dressings instead of Caesar. Ranch or blue cheese can add a new twist. You can even make a simple lemon vinaigrette for a fresh taste.
Want a homemade Caesar dressing? Mix 1/2 cup Greek yogurt, 2 tablespoons lemon juice, 1 tablespoon Dijon mustard, and 1 clove minced garlic. Whisk it all together for a creamy, tasty option.
Additional Toppings
Add more veggies for extra flavor and crunch. Sliced cucumbers or sweet bell peppers work great. They add color and taste.
Cheese can also change your wrap. Feta cheese gives a tangy twist, while mozzarella adds creaminess. Try different cheeses to find your favorite combo!
Storage Info
Storing Leftovers
To keep your Chicken Caesar Pita Wraps fresh, use proper storage methods. Refrigeration is best for short-term storage. Place the wraps in airtight containers. You can also wrap them tightly in plastic wrap. If you want to store them longer, freezing is an option. However, the pita may not have the same texture after thawing.
Reheating Tips
When reheating, avoid the microwave if you can. It can make the pita soggy. Instead, use a skillet or an oven. Heat on low to medium heat until warm. This method keeps the pita crisp and the chicken juicy. If you have leftover salad, add it fresh after reheating.
Shelf Life
Leftover Chicken Caesar Pita Wraps can last three to four days in the fridge. If frozen, they can last up to three months. Always check for signs of spoilage. Look for an off smell or changes in color. If the wraps seem slimy or dry, it's best to toss them.
FAQs
Can I make Chicken Caesar Pita Wraps ahead of time?
Yes, you can prepare Chicken Caesar Pita Wraps ahead. For meal prep, store the chicken and salad mix in separate containers. Keep the pita bread in a sealed bag. When ready to eat, just assemble the wraps. This keeps the pita fresh and avoids sogginess. You can make the chicken and salad mix up to two days in advance. Just add the dressing right before serving to keep the flavors bright.
What can I substitute for pita bread?
If you don’t have pita bread, you have options. You can use tortillas, lettuce leaves, or any flatbread. Tortillas work well and can hold the filling nicely. Lettuce wraps are a fun, low-carb choice. Flatbreads add a nice flavor, too. Choose what fits your taste and diet!
How do I make this recipe gluten-free?
To make Chicken Caesar Pita Wraps gluten-free, swap the pita bread for gluten-free wraps or lettuce leaves. Check the Caesar dressing for gluten ingredients, or make your own. Use gluten-free soy sauce and a mix of olive oil, lemon juice, and garlic for a fresh taste. Always read labels to ensure all your ingredients are gluten-free.
Can I use leftover roasted chicken?
Absolutely! Leftover roasted chicken is great for this recipe. Just shred or slice the chicken into pieces. You can skip the seasoning step since the chicken is already flavorful. This saves time and reduces waste. Enjoy the convenience of making a quick meal from leftovers!
This blog post covered how to make delicious Chicken Caesar Pita Wraps. We explored the main ingredients, key cooking steps, and helpful tips. You learned how to enhance flavor and experiment with variations. Storing leftovers and reheating options were also discussed for your convenience.
In the end, enjoy this tasty dish on any occasion. It’s easy to make and fun to customize. Now, get cooking and enjoy your meal!